Before trying to crack this issue, just know that this is my first blog related to technique. I’m hoping to blog about technique in order to help my fellow potters. I’m not going to bore you with scientific details to explain or refute particular methods or techniques (I bet there are many sciency online articles already to explain anything I can come up with).
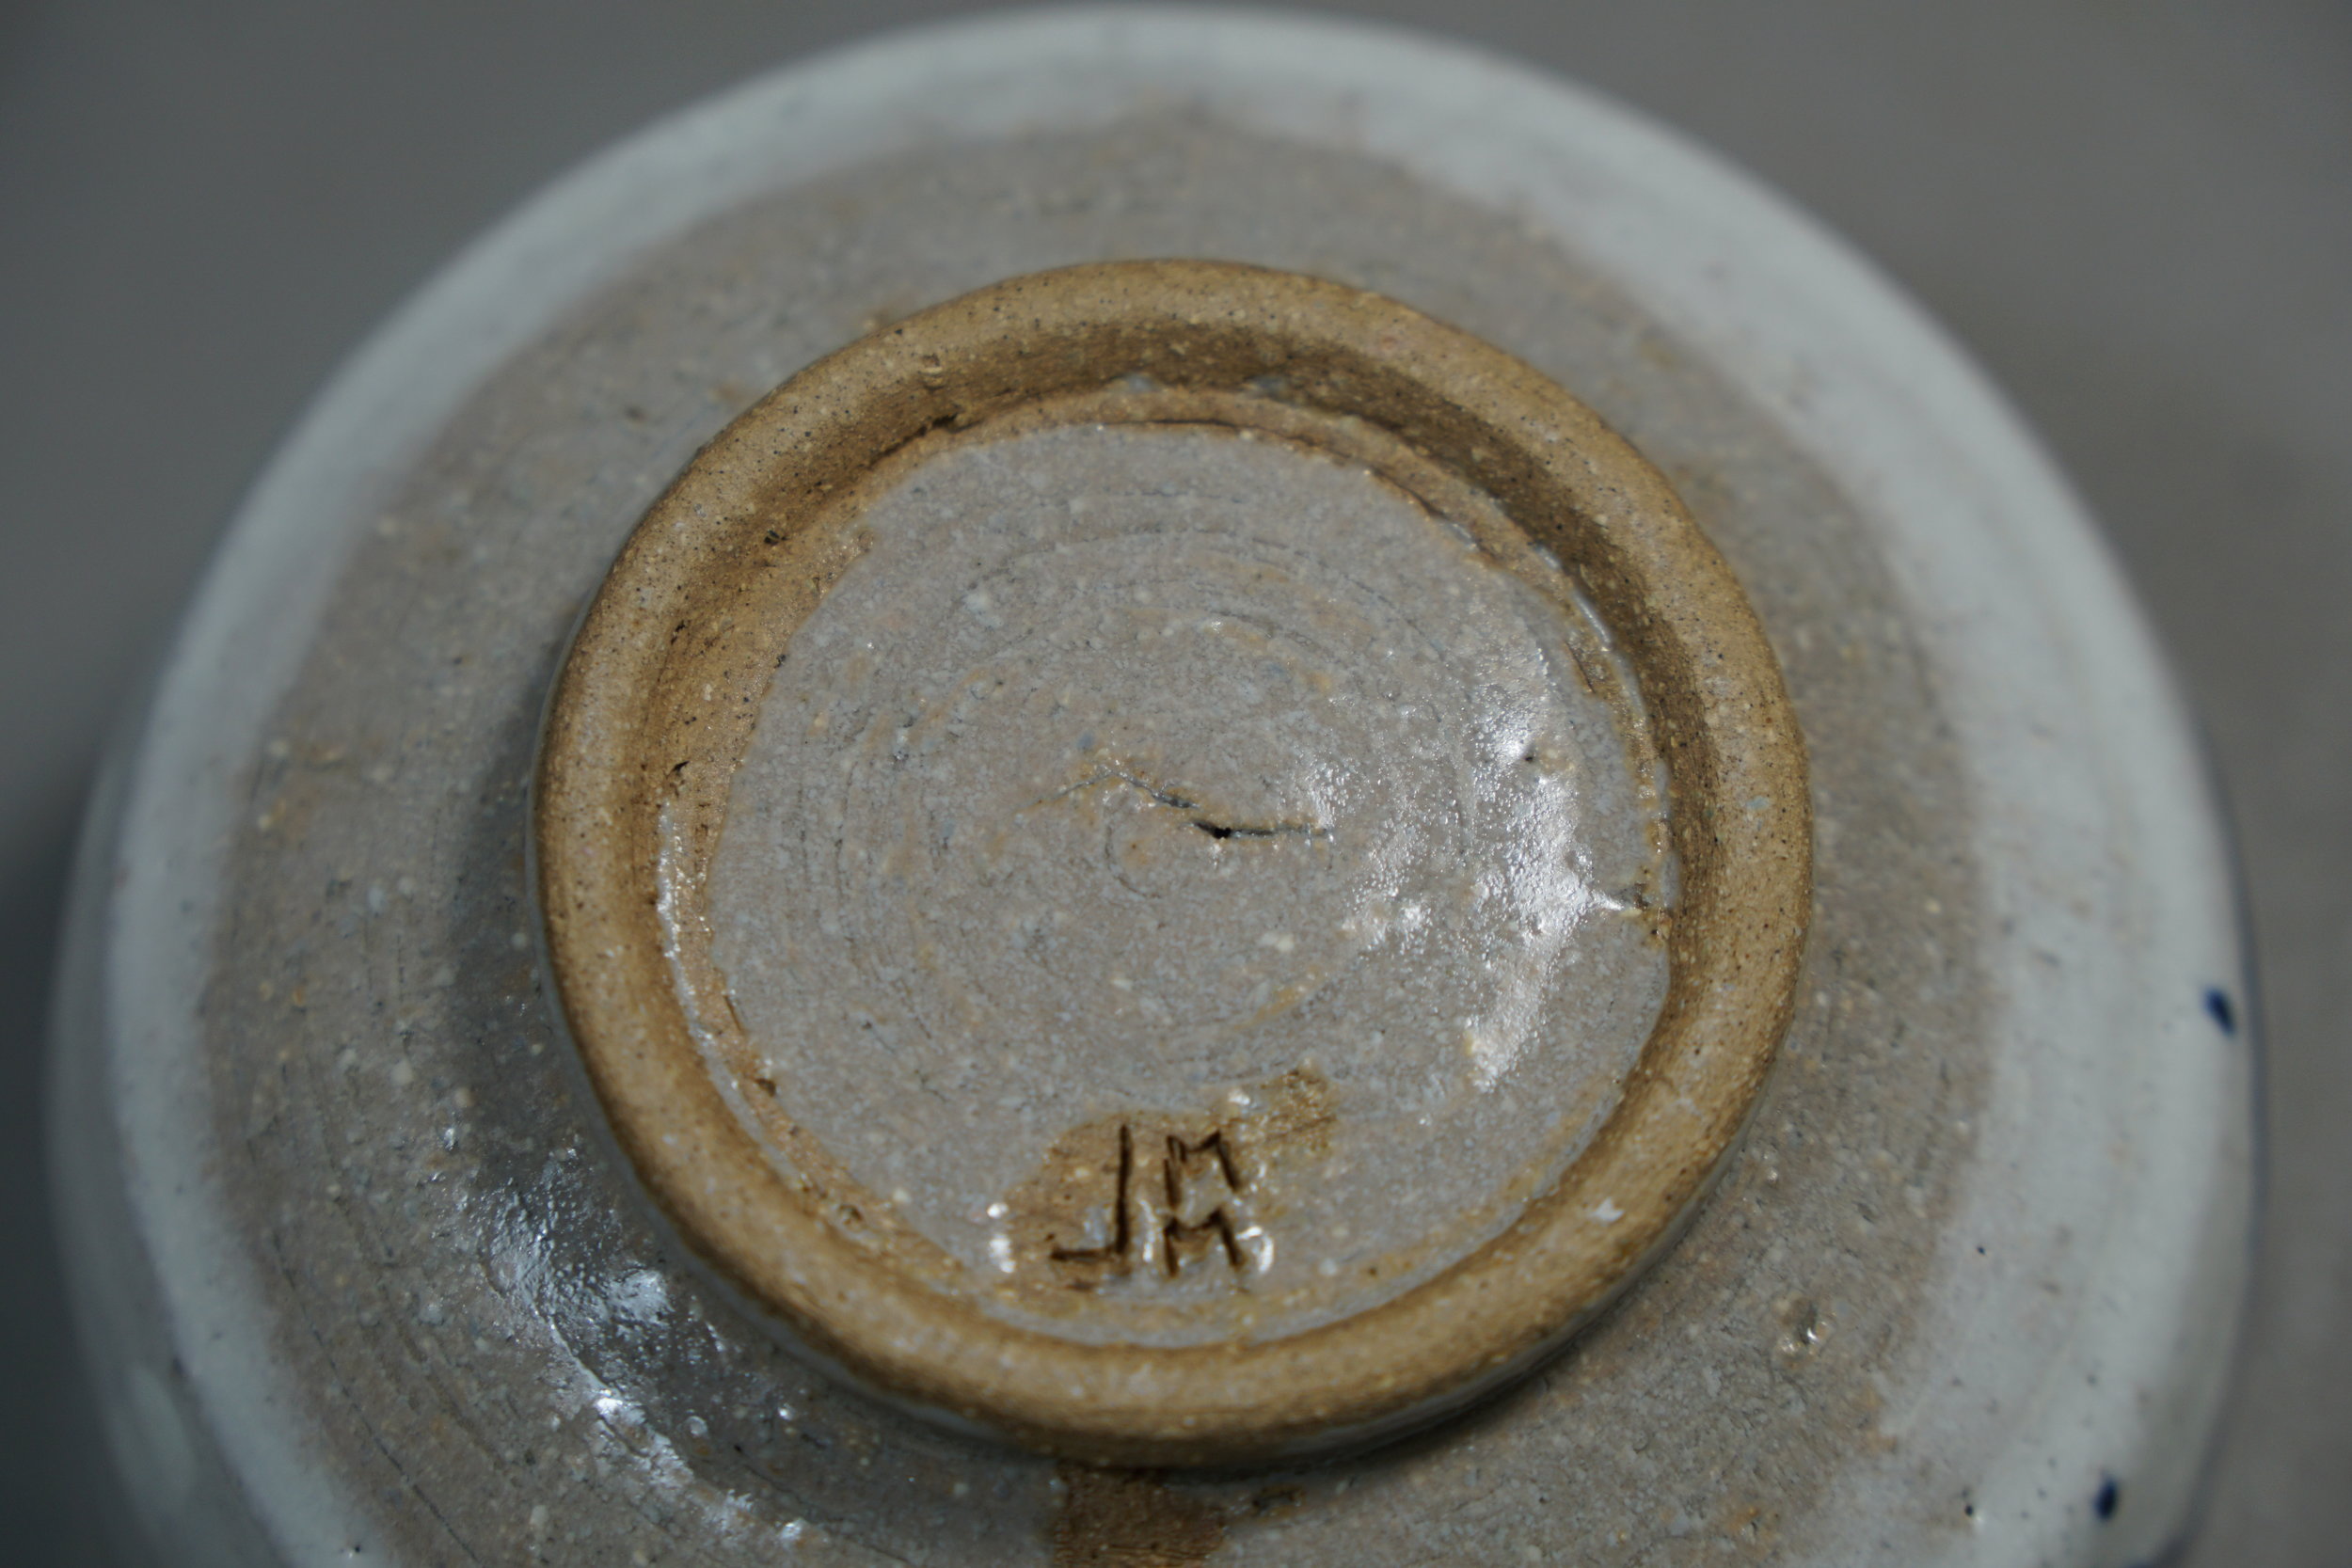
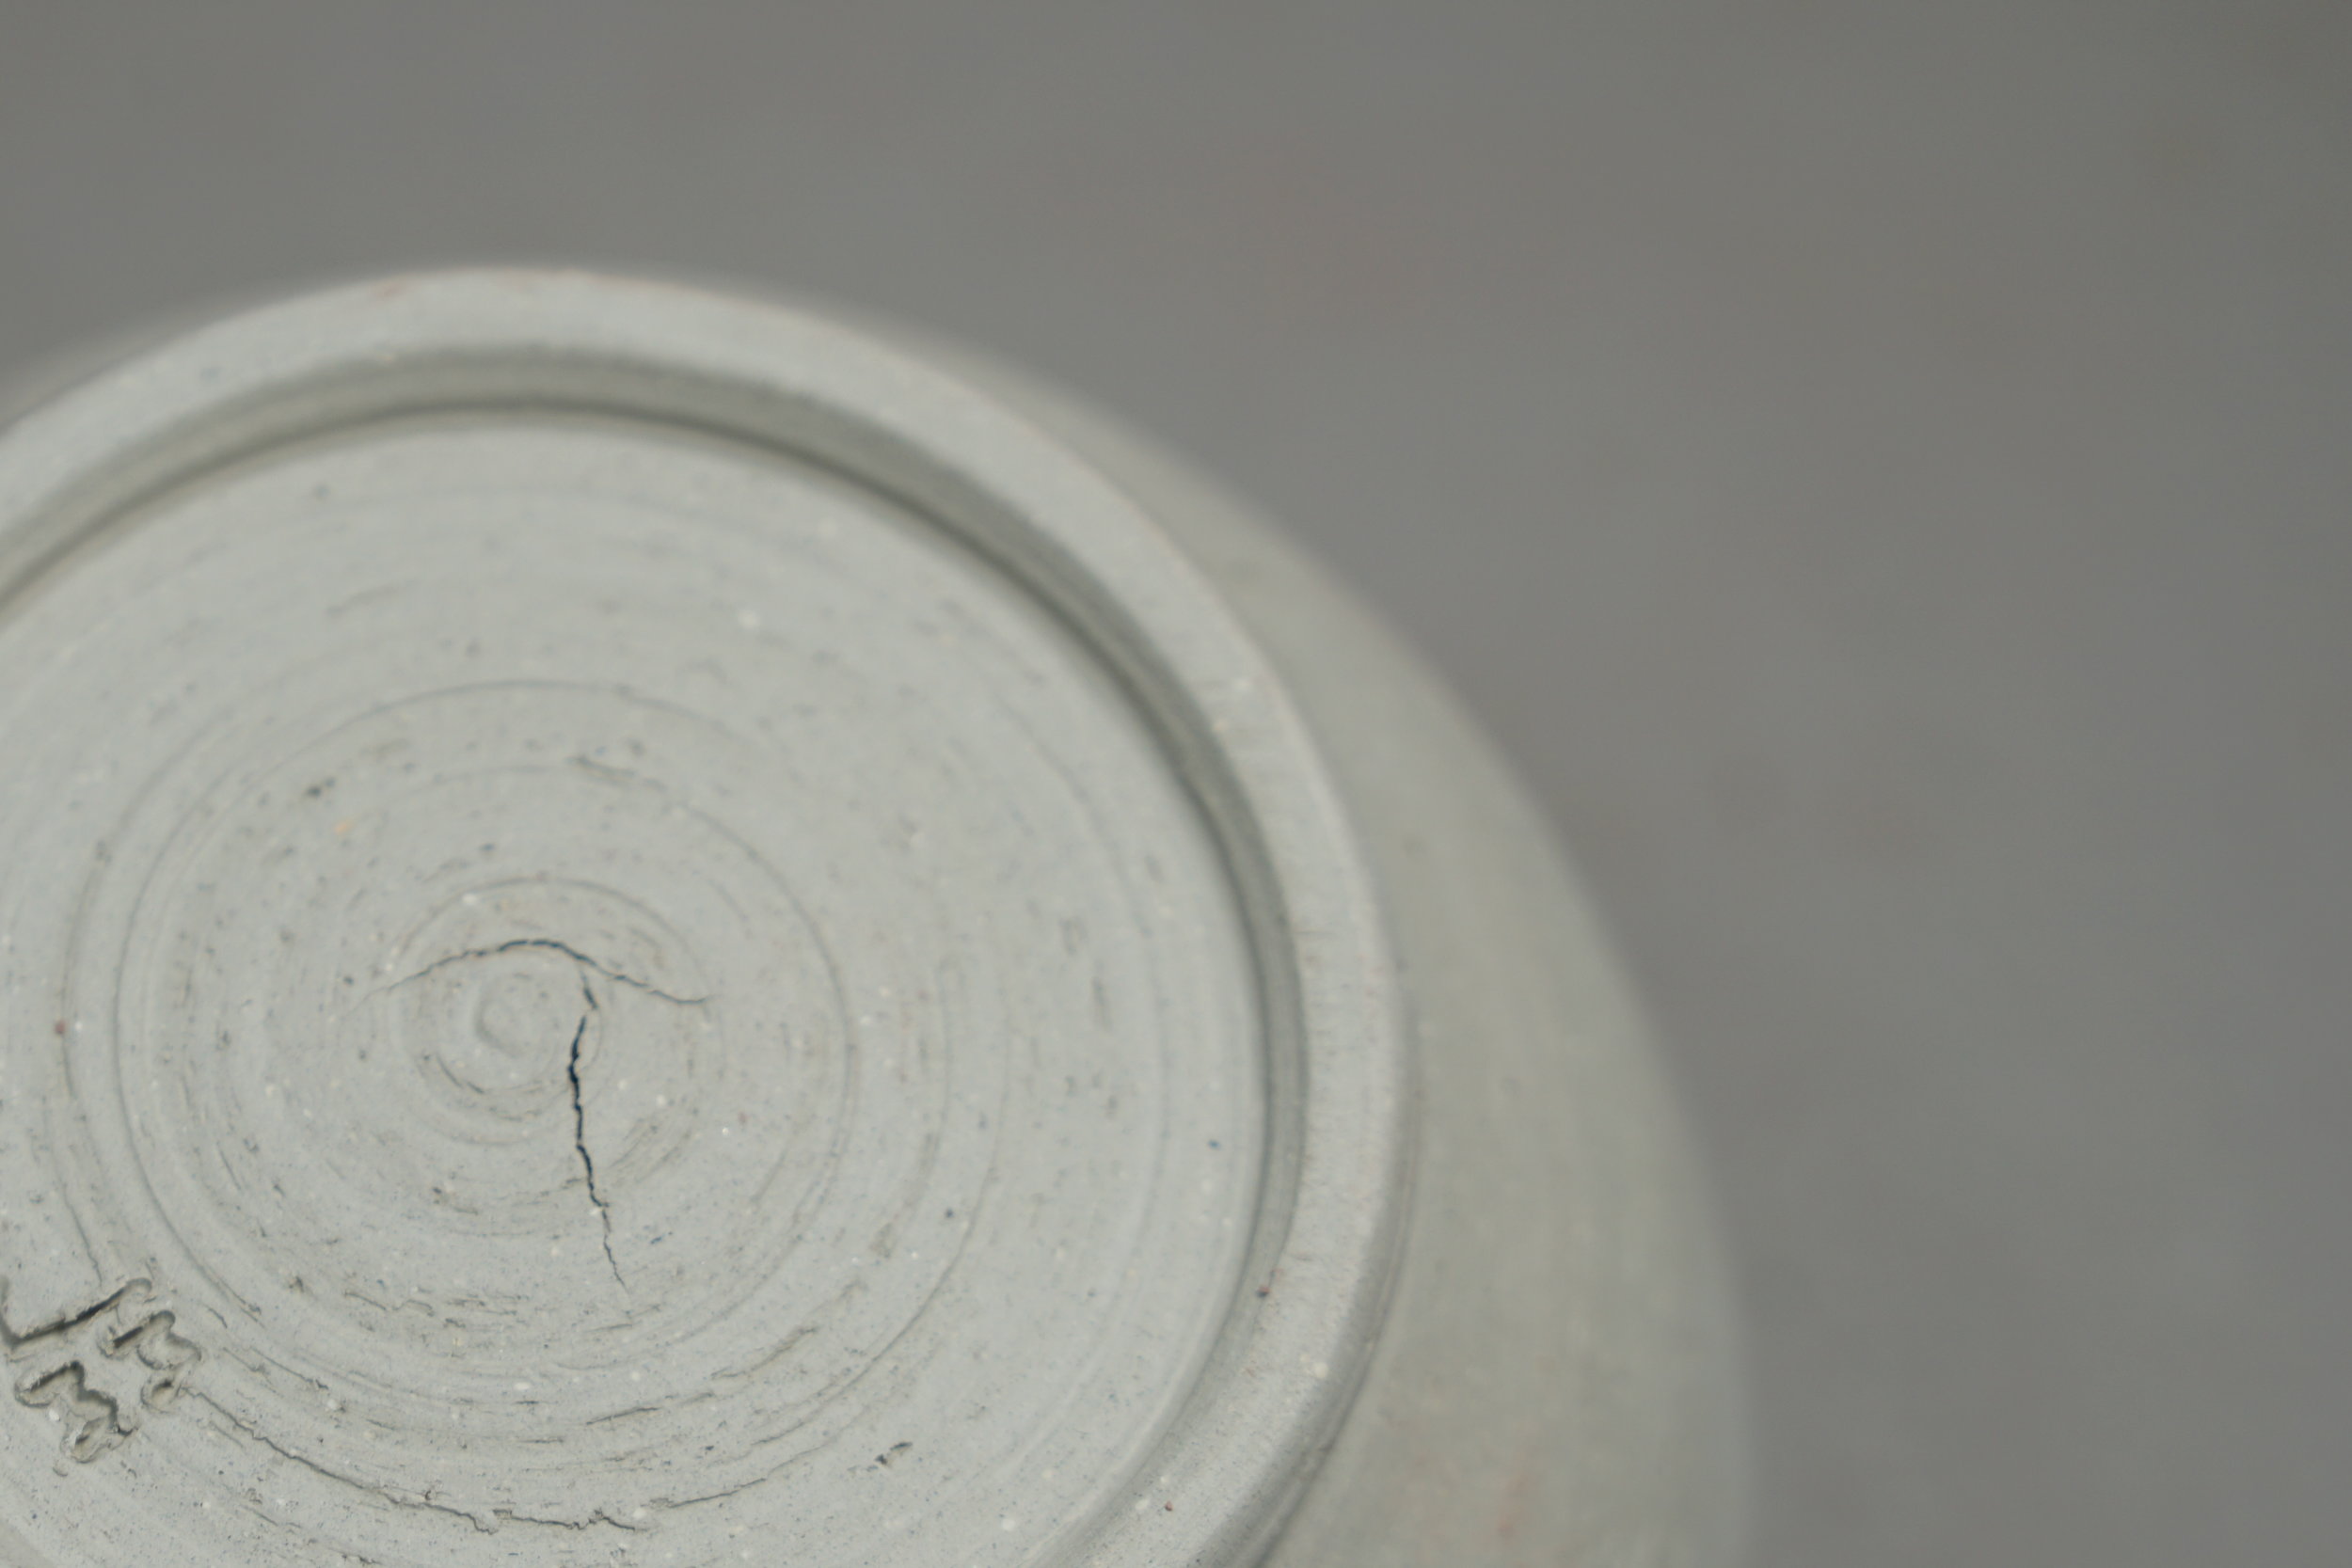
Now, on to cracks. As one progresses in pottery, one will irremediably encounter frustrations. ‘S-cracks’ are without a doubt one of the most dreaded and annoying ones. S-cracks are s-shaped fissures that develop in the foot of pots. These unexpected defects show up as a pot is drying or even after it has been fired. Throwing off-the-hump increases the probability of running into this issue.
A few months ago I started to get lots of cracked pieces. This was very surprising since I would encounter them very randomly before. There are many recommendations about how to prevent s-cracks but these pointers have helped me overcome this issue:
Drying too fast. I cover drying pieces with plastic bags to slow down drying. Need patience here.
Firing too fast. I use a slow firing profile when firing, specially bisque firings.
Uneven drying. Besides using plastic bags around drying pots, I place them on top of a wood surface or any other material that sucks up moisture.
Use clay with grog or sand added to it. I think this helps but I’m not sure if this is completely true.
Compress the foot. This is not possible if throwing off the hump. Again, not sure if this actually helps.
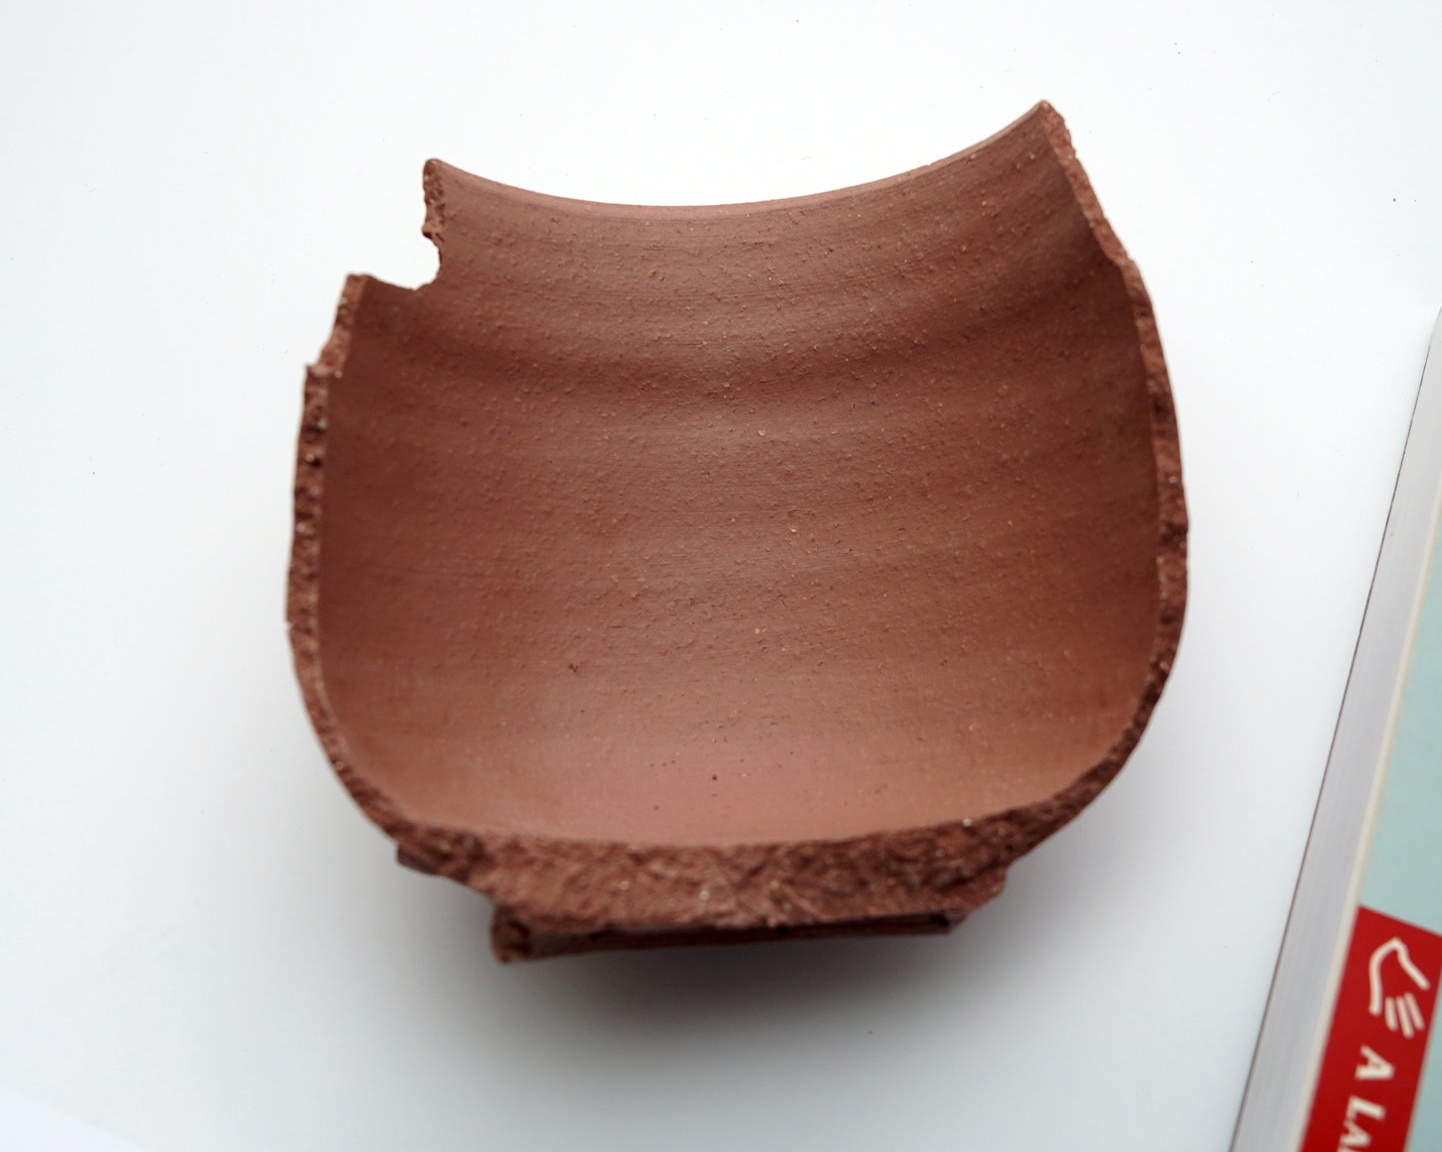
Break faulty pieces. I broke defective pieces in order to investigate probable causes.
Breaking multiple pieces in order to inspect them is what helped me the most. As seen in one of the pictures, the bottom of is quite thicker as compared to the sides. Thickness was not uniform. When trimming I was leaving the foot way too thick. If walls are not uniform, no matter how slow a piece dries, it won’t dry uniformly. Refining my trimming technique has, for the moment, fixed my cracking issue.
